As well as buying yet another vehicle, I actually spent some time at the weekend trying to fix one I already own. After the BX returned from a visit to Sparrow Automotive, I had been advised that the nearside front brake looked like it had been binding, and that the offside front brake had low pads.

Low pads. These were replaced
It didn’t take long to free the pads and have a look. The offside ones weer indeed very low. That’s not just important for braking ability – low pads don’t dissipate heat as well as fresh ones as there is less material to absorb the massive heat generated by braking. These were definitely bin fodder.
They were so low that I wondered if the caliper was sticking, but all seemed well enough. I wound the piston back and inserted the new pads. Job done on that side.
The nearside disc did indeed show some sign of getting hot, and had proved warmer to the touch than the offside after a drive. The first thing to do was disconnect the handbrake cable. This made no difference. Spinning the hub by hand, it still felt restricted. So, it was out with the pads and have a look at the caliper.
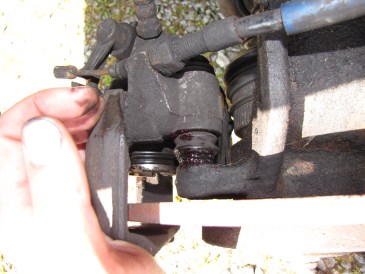
Slider rubbers not entirely healthy
It’s tricky to see in the above picture, but right in the middle of the shot is a rubber boot. This covers one of two sliders, which allow the caliper to move back and forth. There’s a single piston which thanks to the sliding action, can push on both sides of the disc at the same time. One boot had a slight tear in it, but the sliders were doing their thing. I greased them up with heat-proof grease.
The piston itself was very difficult to wind back in. This is perhaps the most likely problem – applying the brakes pushes the piston out and corrosion is preventing the piston springing back in as the pedal pressure is removed. I cleaned the piston as best I could without removing it, then greased it and wound it back in. This was hard going but I got there in the end. With new pads fitted all-round, I started the engine and gave the brake pedal a good shove. This apparently helps reset the handbrake mechanism. Only then did I connect up the handbrake cables. The result was the best handbrake I’ve ever had in a BX!
I’ll keep a watching brief on that nearside caliper. Chances are it’s going to need replacing, but I may have squeezed a bit more life out of it yet.
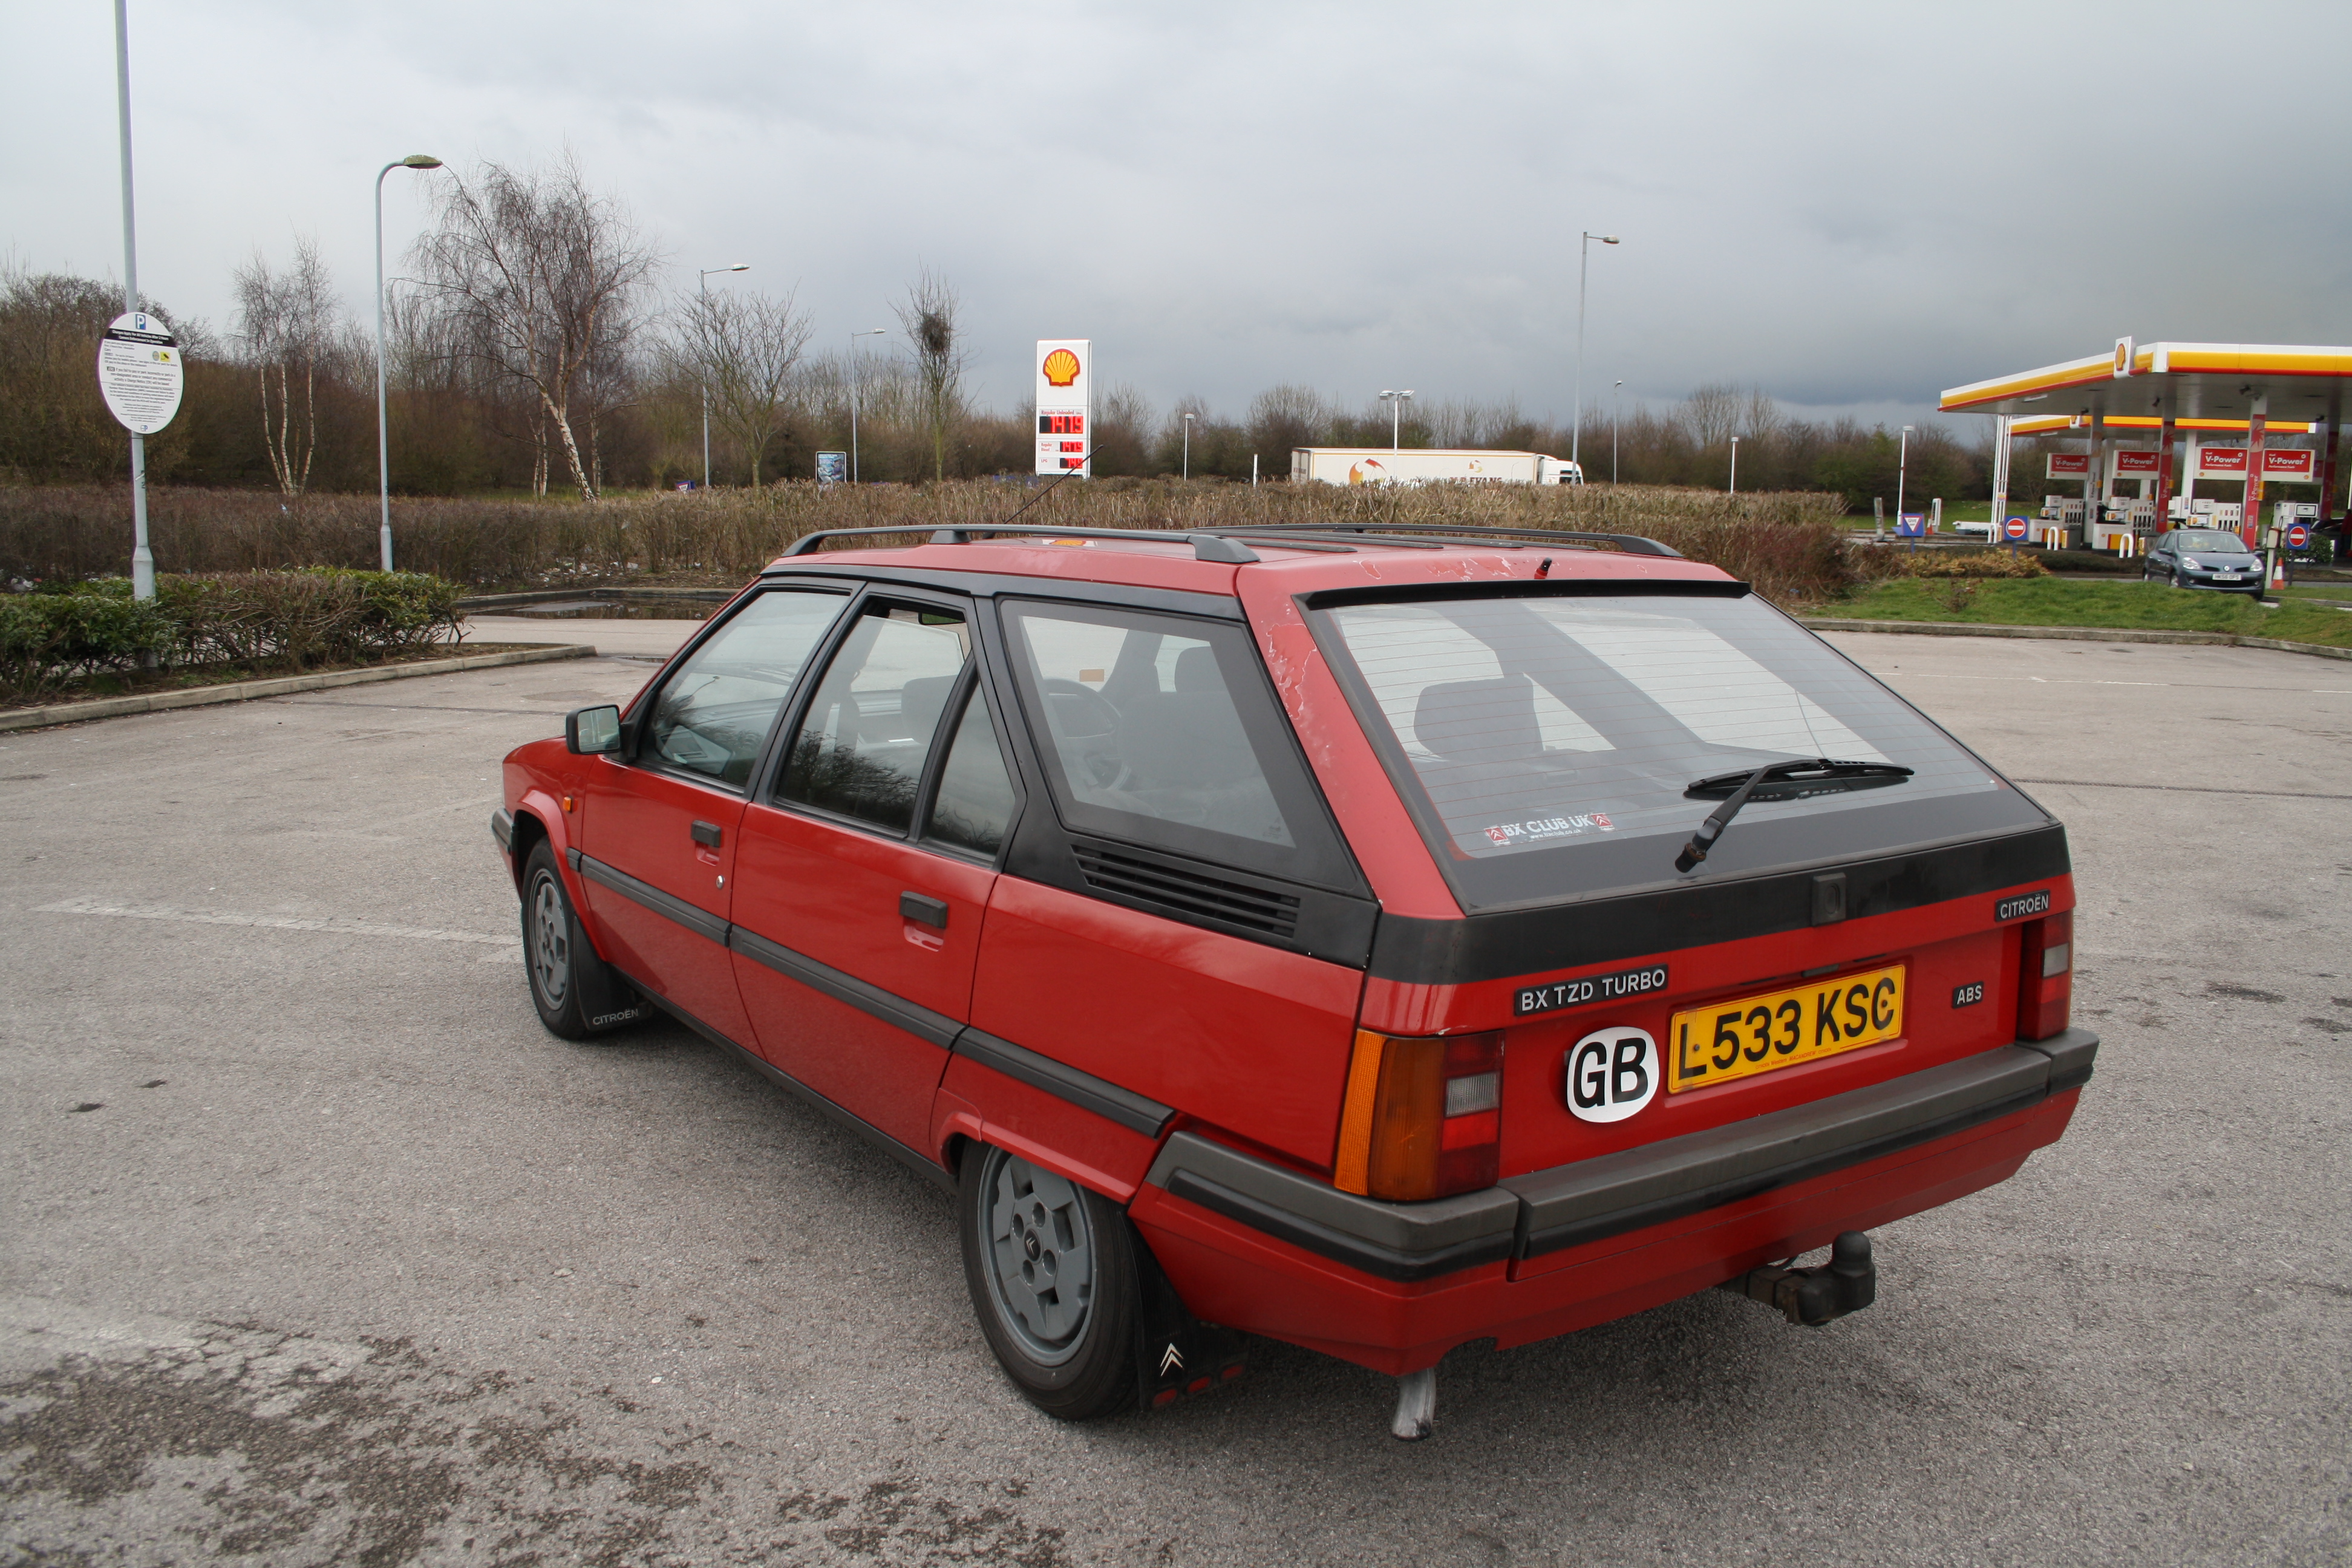
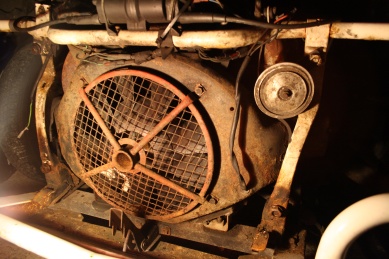
This BX is improving. I felt very gloomy about it not long ago but the replacement spheres fitted last week have massively improved how the car feels. I still need to replace a rear arm bearing, which will improve things further, but the biggest challenge is to stop it smoking. It really does create a smokescreen when the turbo kicks in! There are many things it could be, and I’m no closer to finding out what it is. To be continued…