I’m a bit sensitive when it comes to brakes. They are rather important after all. It doesn’t take much to have me resting my hand on the wheels after a long drive, just to check there isn’t excessive heat. If the tyre has got hot and you can’t touch the wheel, something is wrong!
It was actually a nasty smell that had me checking the Sirion’s brakes. Turned out to be Bilt Hamber’s Dynax UB anti-corrosion wax as I’d managed to get a bit on the exhaust, but the front wheels did seem quite warm. Especially given that I’d just driven up a rather big hill, and so hadn’t touched the brakes for several miles.

STOP! Hammertime
Once daylight appeared, I had another test drive. I found a section of road where I could avoid braking, and pull into a layby without having to touch the middle pedal at all. No doubt about it. While the discs weren’t hot, they were certainly warm. The calipers were binding slightly. This has a surprising effect. It can seriously impact on fuel consumption, even if there are no other issues. But generating excess heat can cause other issues too. Ignored, a seized caliper can cook your brake fluid, meaning the brakes effectively fail when you next use them, or they can generate so much heat that rubber components fail and/or all of your wheel bearing/CV joint grease gets liquidised, leaks out and wrecks those items. You ignore such things at your peril.
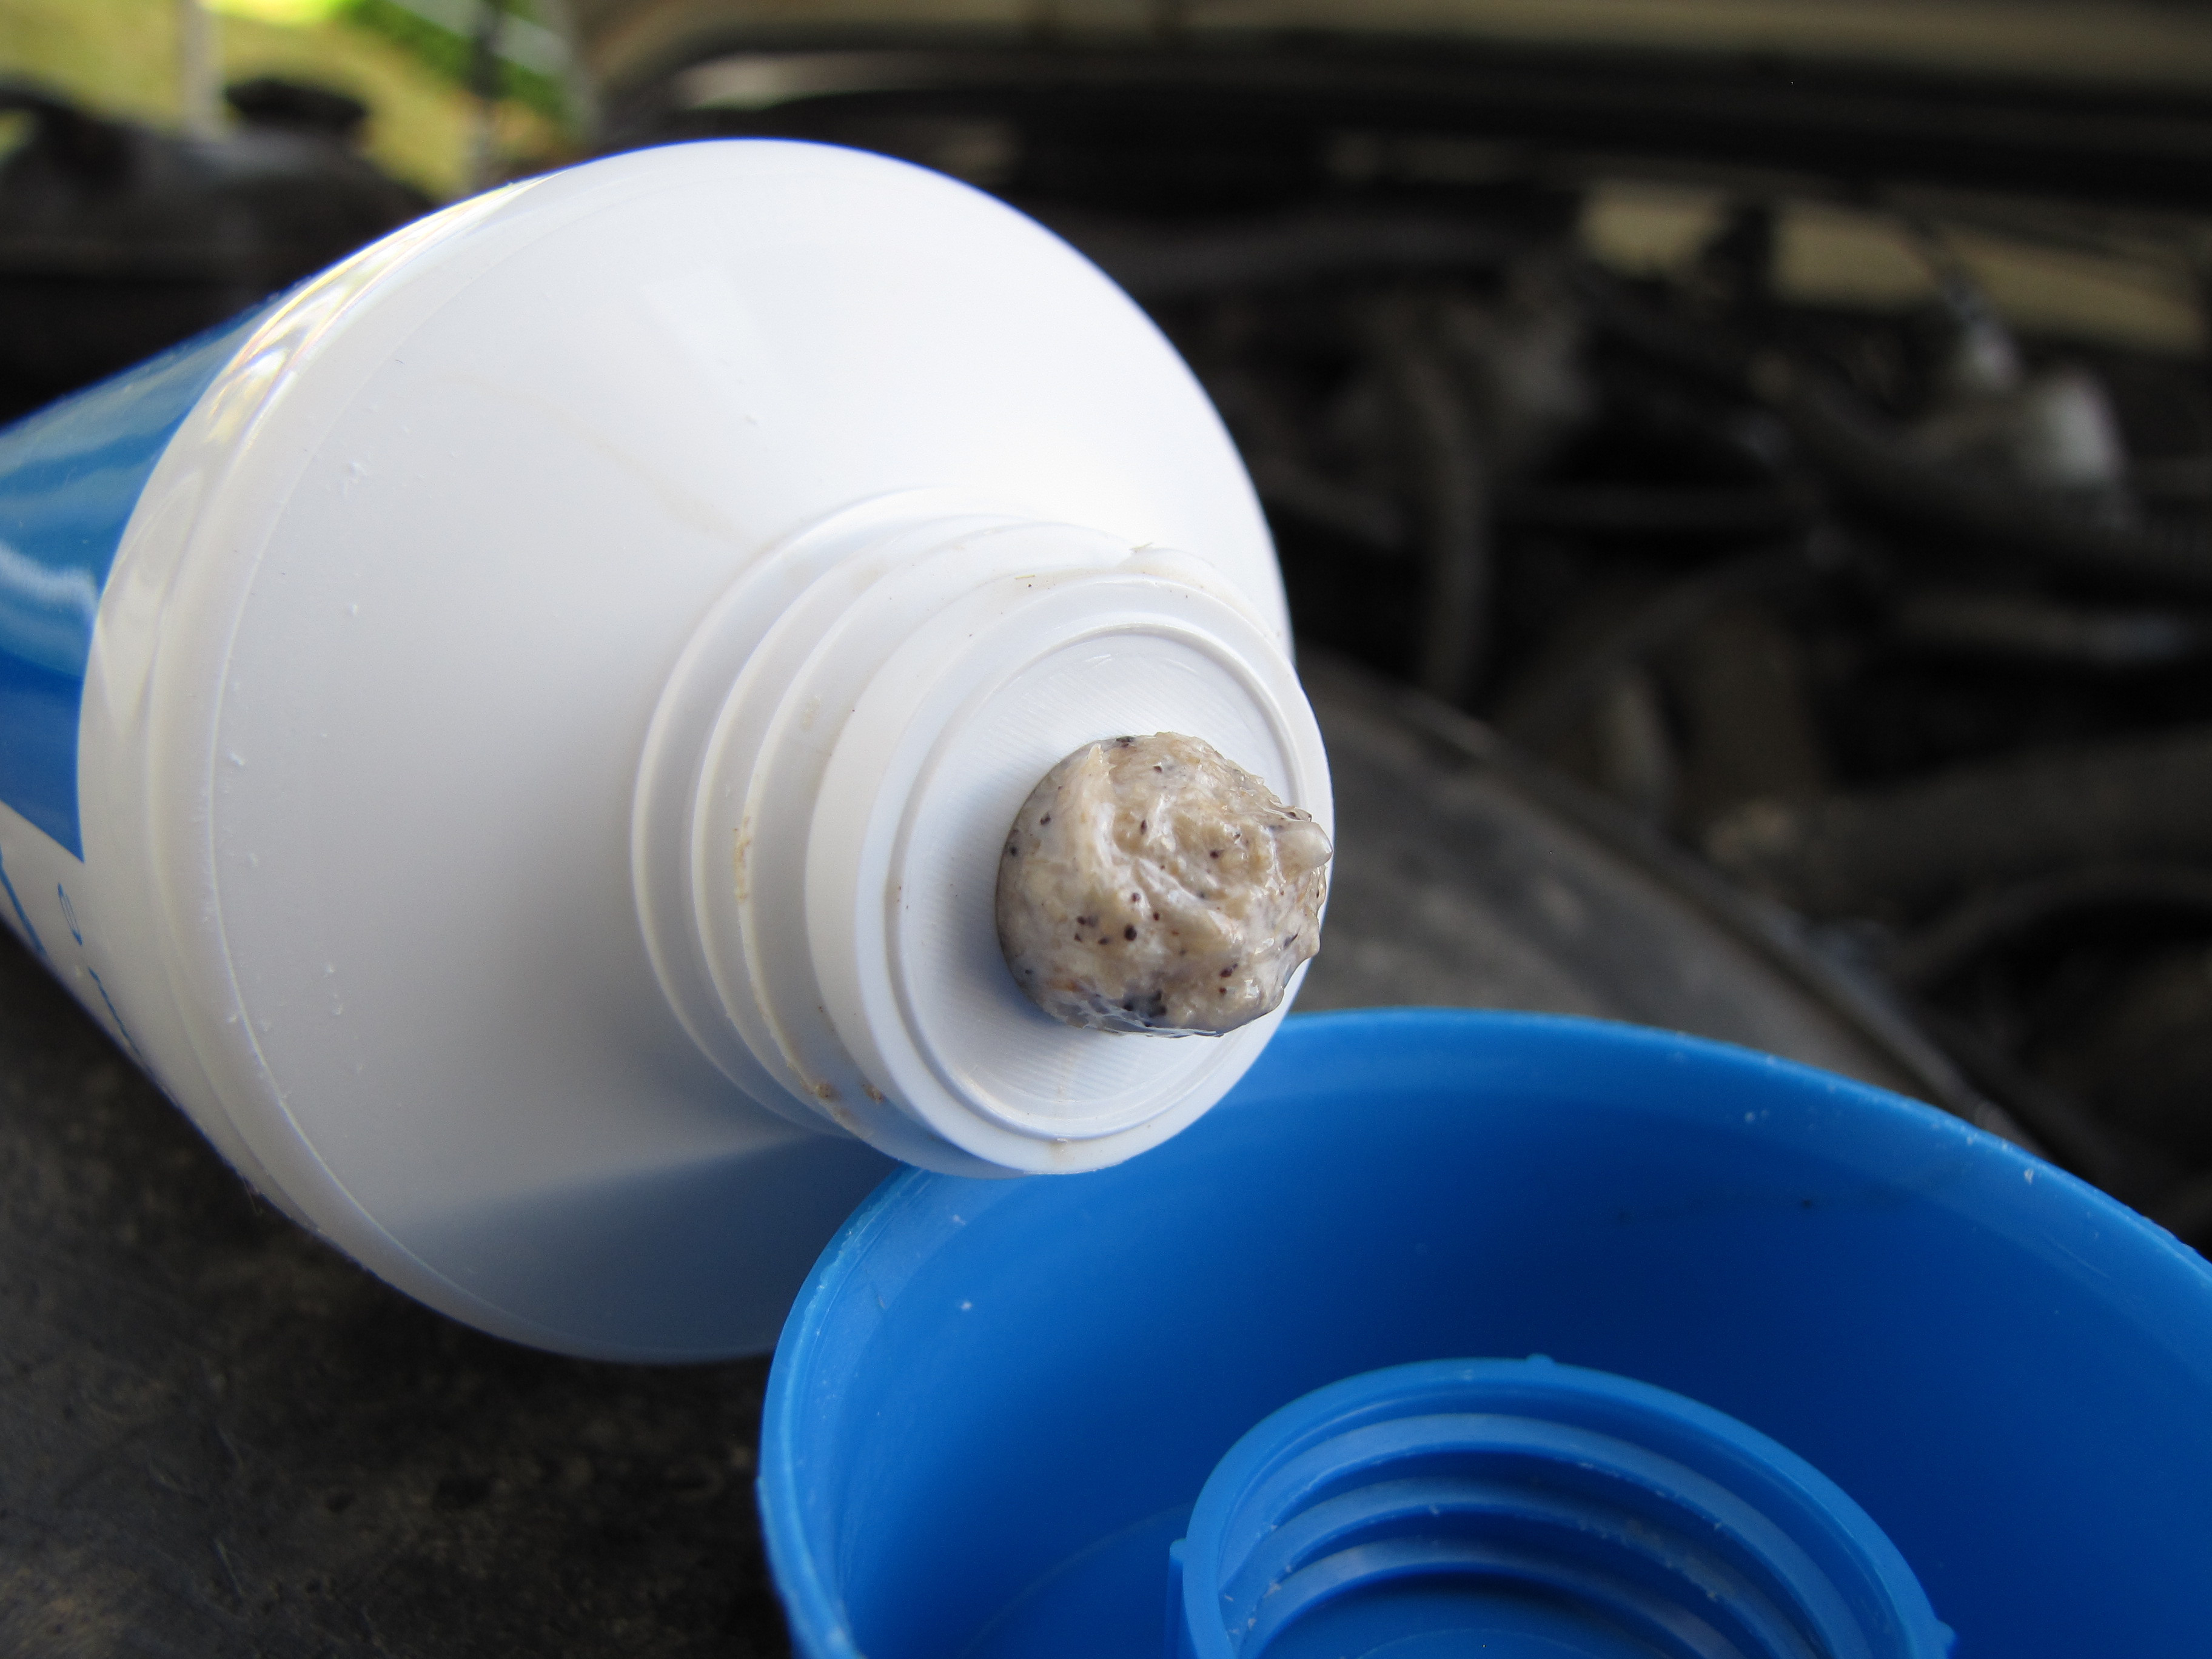
I hadn’t really had to do anything to the Sirion’s brakes, so this would be an education. I whipped the front wheels off to see what I was faced with. The Sirion uses ‘floating’ calipers. These have only one piston, which presses one pad onto the disc, but pulls the other half of the caliper towards the disc too. This floating section runs on slider pins. The biggest weakness of these floating calipers is these pins. They need to be greased. If the grease dries up, or if someone has used the wrong grease (copper grease is bad news, you need a rubber-friendly silicone grease) then the caliper can get stuck, holding the pads against the disc and causing the aforementioned foibles. If this has happened for quite a while, you might notice unbalanced pad wear. The other thing that happens is that the piston itself gets gummed up. The pistons are made of steel, and so corrode if not coating in grease. The lower the pads are, the more piston is potentially exposed to the elements.
To pull the pads out, you need to remove the slider bolts. This became a bit of a battle, which suggested these might be the problem. They have 14mm heads, but both the lower sliders rounded off. I had to resort to extreme measures – a 13mm socket and an impact driver! Even then, it took a hammer and chisel to coax them out of the caliper. Sherlock Holmes would not be needed here.

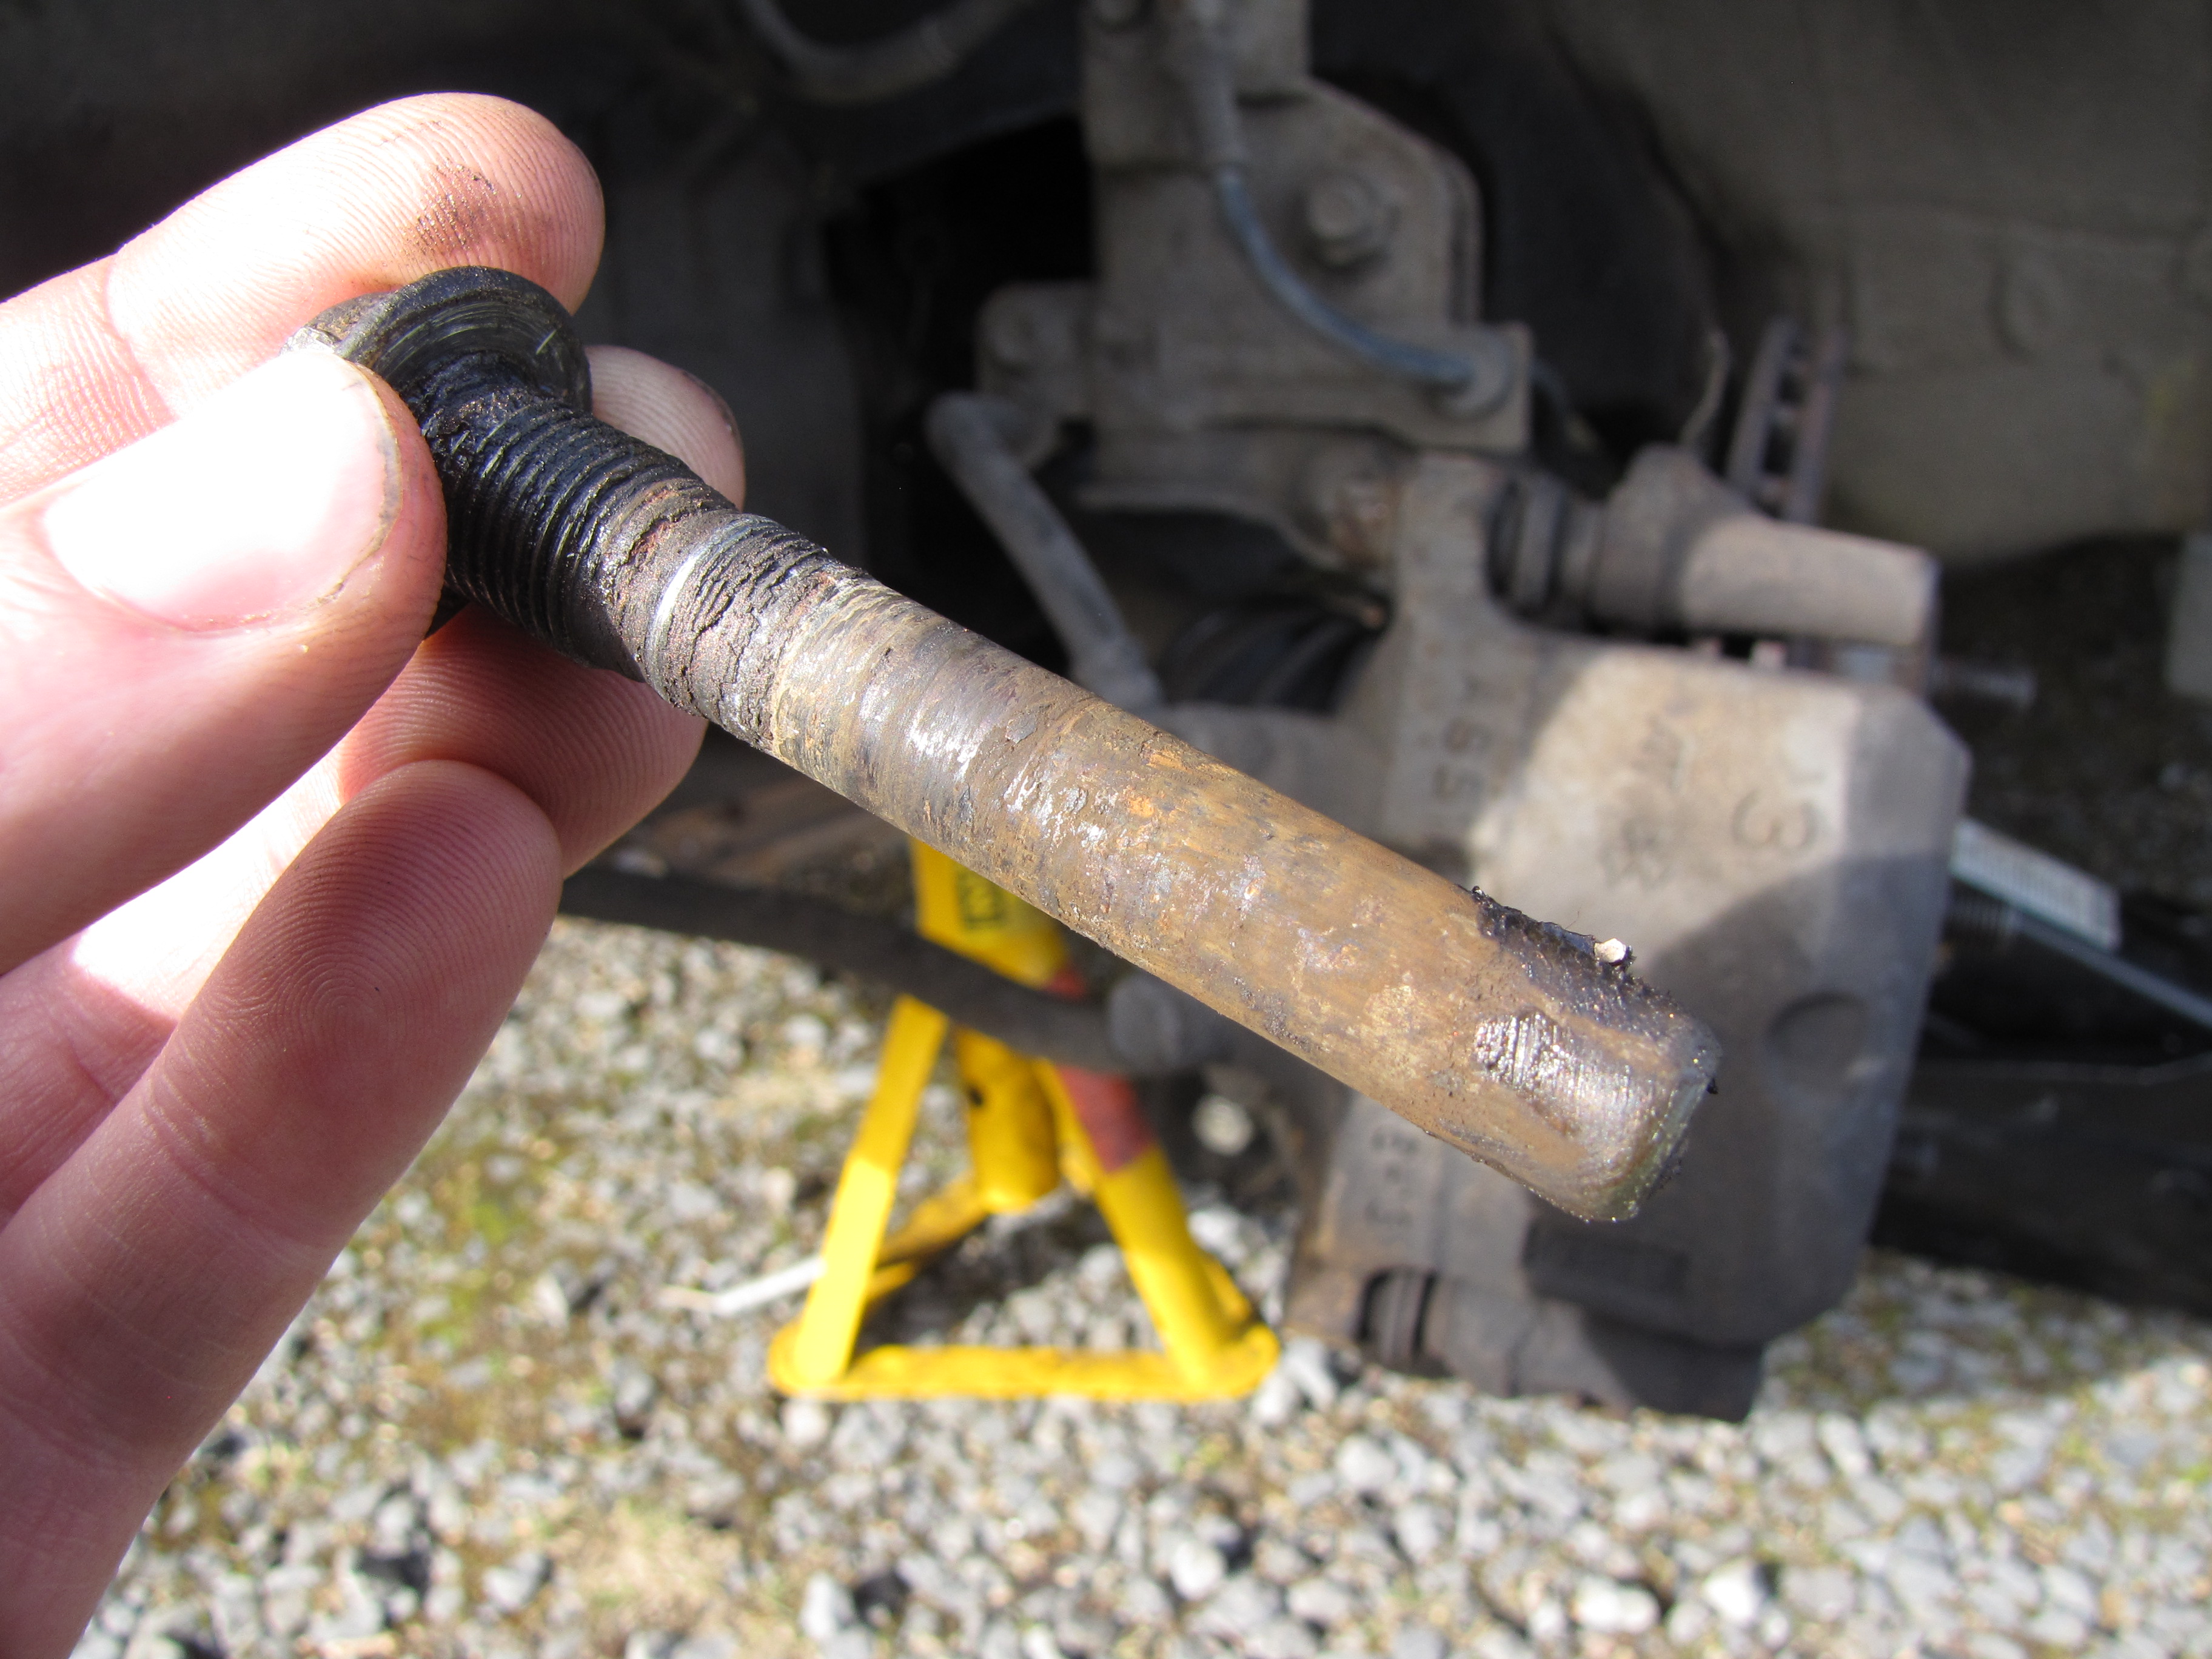
This slider pin should not be this dry
Once I’d forced them out, it was pretty clear that they were entirely dry. Even worse, there were signs of corrosion and score marks where they had been trying to slide across the dry surface. The actual movement is tiny, but still requires lubrication. With mangled heads, I couldn’t safely refit the pins, though I did so loosely just so I could move the car on my driveway. I ordered new pins from a Daihatsu dealer and accepted that I’d have to wait several days for them to arrive. The downside to owning unusual vehicles.
The pins arrived this morning. At last! I was a bit miffed to have been charged £5 postage, when it cost the dealer £2.30 and a second-hand jiffy bag. But they were here. The weather was chaotic – snow, hail, sleet, rain and wind. I turfed the 2CV out of its cosy garage and set to work.
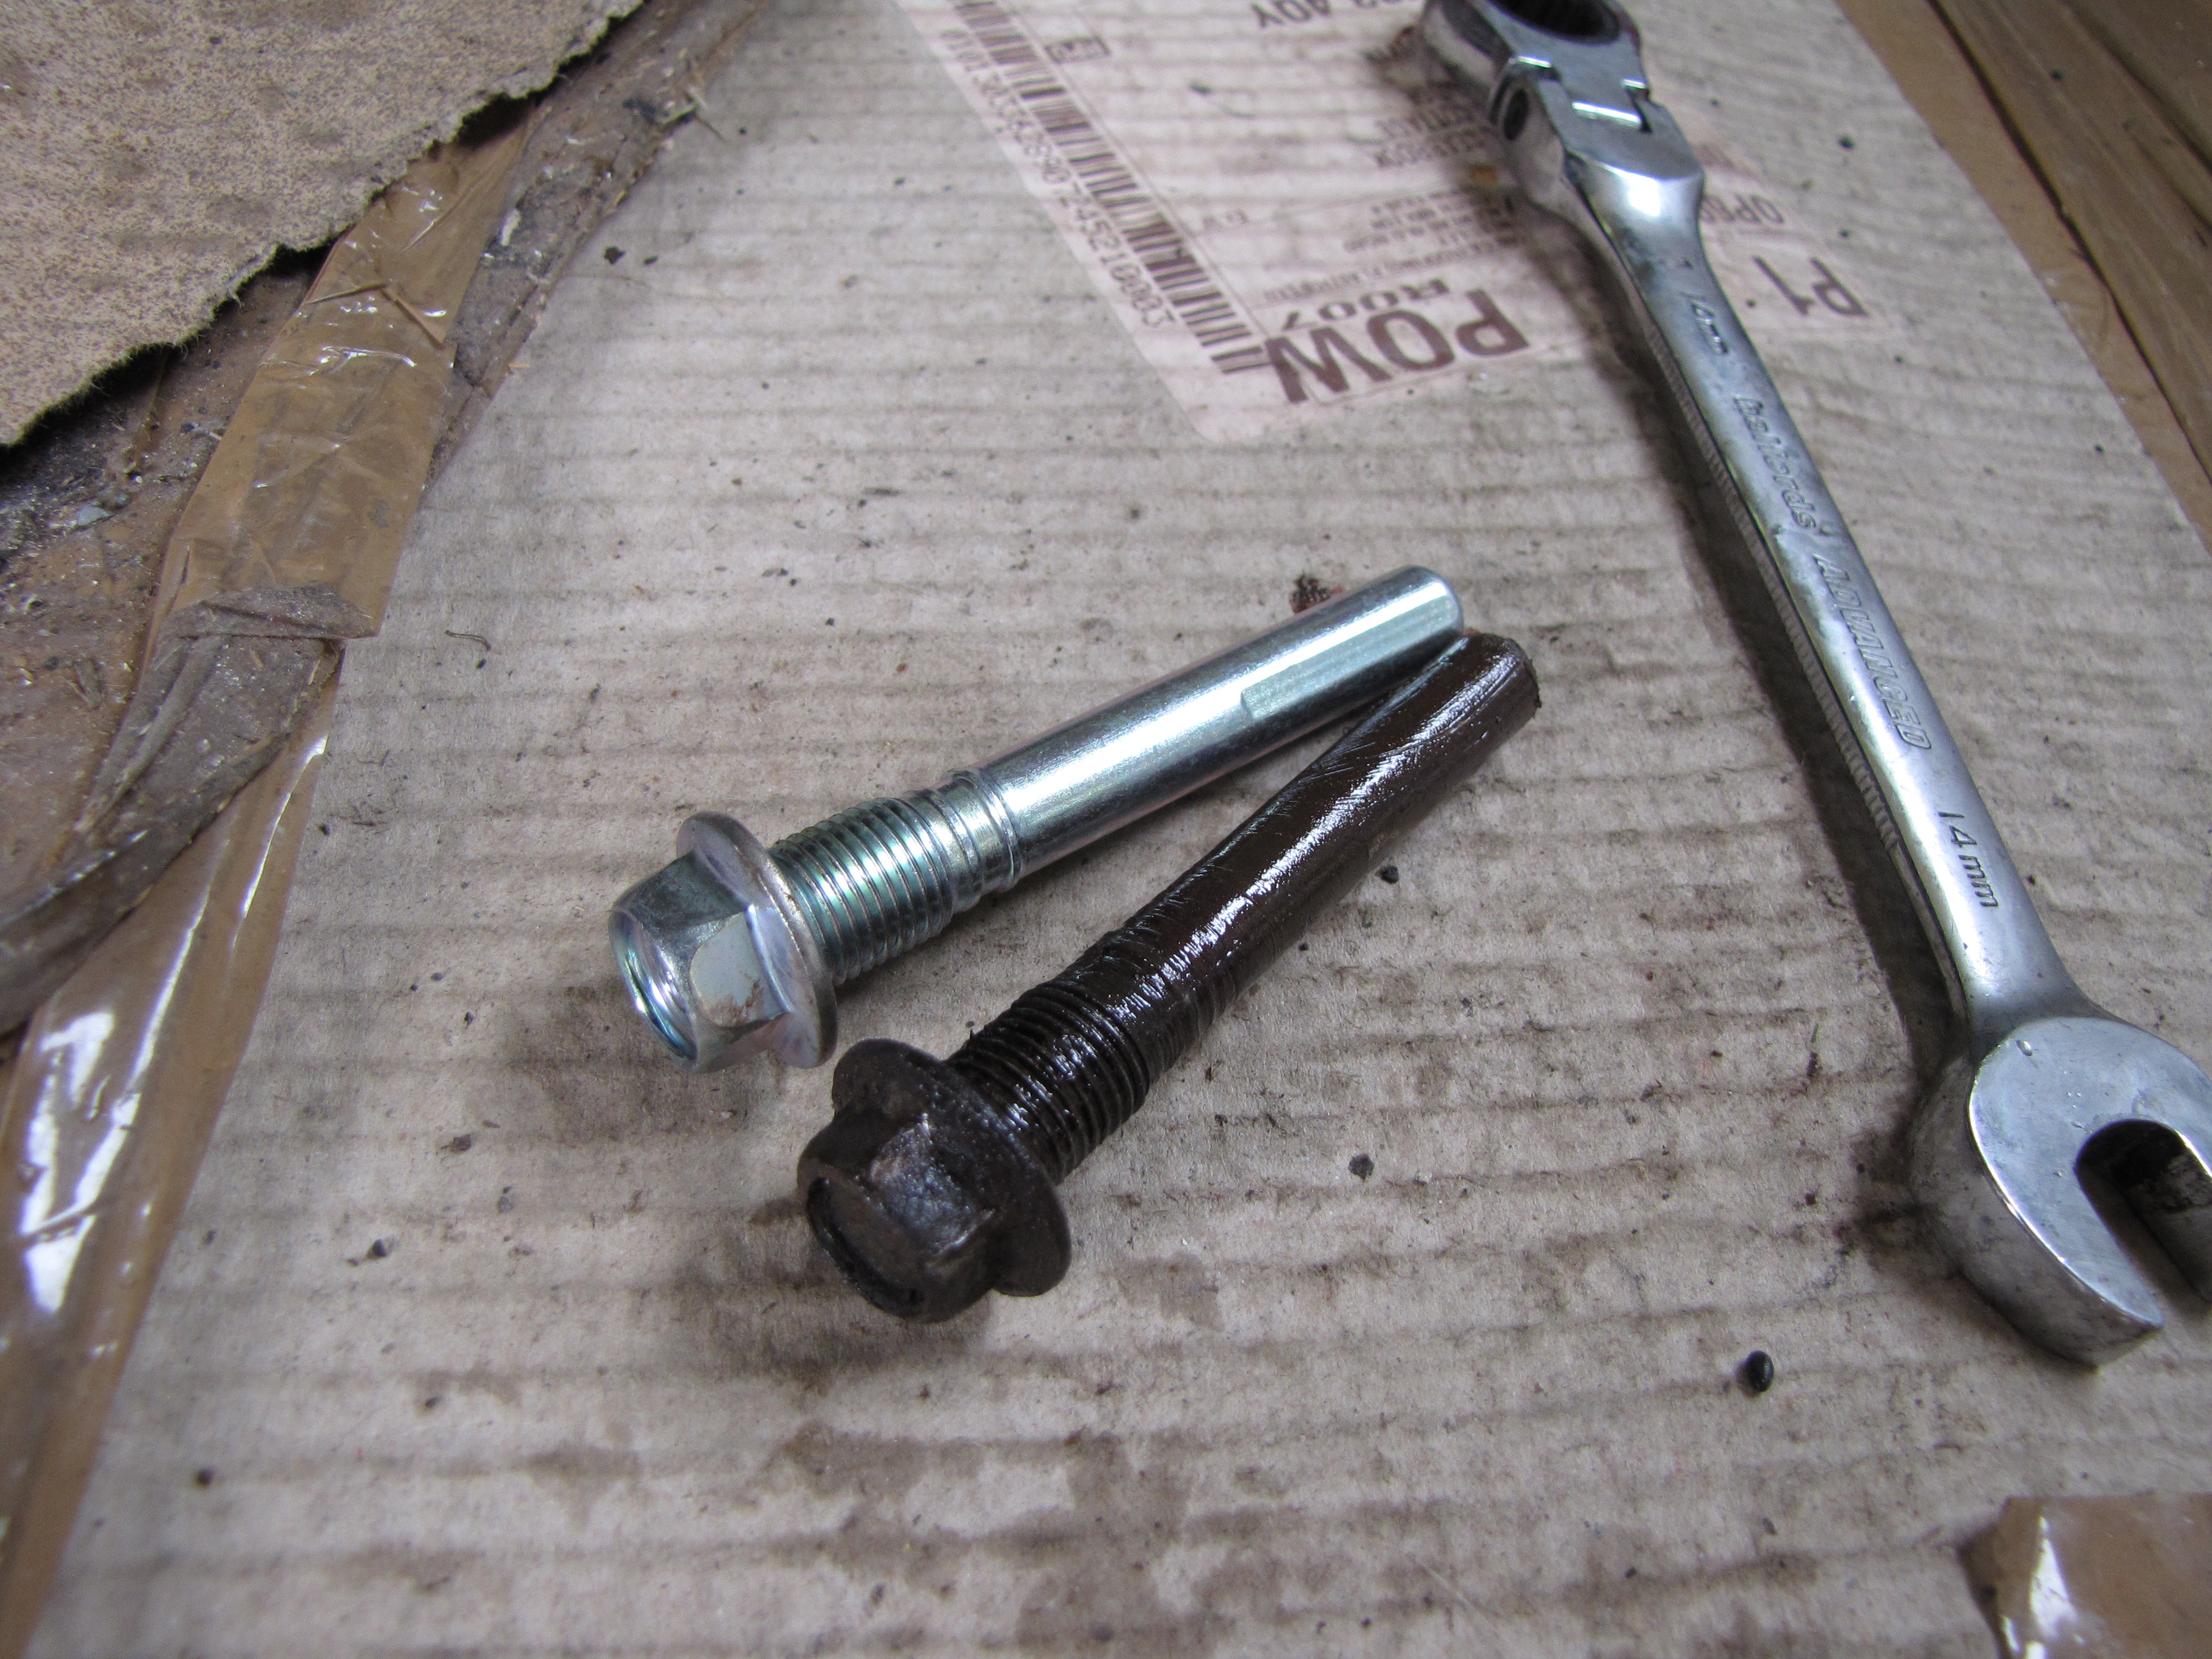
It didn’t take long, because I’d already done the hard work. Here’s a pin comparison.

Caliper slider pins compared
A fair bit of difference! The old pin is damp, because I lubed it up before refitting last time, just to make sure I could get it out again. Incidentally, ratchet spanners are BRILLIANT. The new pin was lubed with silicone grease – not too much – and I used a little copper grease on the threaded section as that doesn’t contact the rubber. This should make future removal far less trying. It’s important to use a grease which is compatible with rubber – not all of them are, and if the rubber boots are destroyed, the sliders will not be protected from the elements. It’s also sensible to clean out the slider tubes in the caliper. Do so gently and make sure you don’t contaminate the disc or pads. Oil is not helpful in a stopping situation.
It isn’t one of those jobs that makes a huge difference to how the car drives – there’s no difference at all it how it feels – but it was a useful bit of preventative medicine. If your car has floating calipers, make a point of pulling the caliper apart every year or so to make sure the sliders are still lubricated. You could save yourself a lot of trouble.
I’m glad to have the little buzz box back in use. It’s the exact antithesis of the BX, being rev-happy, zingy and displaying all the bodyroll of an original Mini – albeit with steering that feels like an original Mini with the front tyres at 60psi. It is also the only one of my fleet on winter tyres – and it seems winter is not quite finished with us yet.