The XM has recently reminded me just how difficult it can be to run a modern classic. The problem? Parts availability.
The XM was a car that sold over 300,000 units, so it was never exactly rare – albeit Citroen probably wanted to sell more. It was still in production just 15 years ago and was launched in 1989. Yet when I needed just one tiny brake component, I was left frustrated and unable to find what I needed.

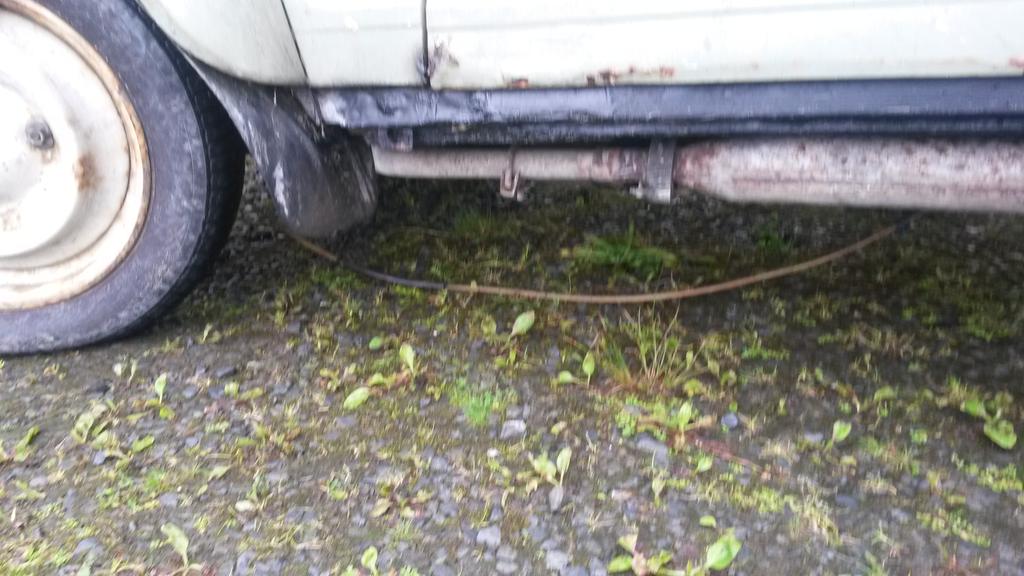
Discovering the problem, a month ago!
There are two problems here. One is that Citroen is generally HOPELESS at supplying parts for older cars. Unlike the German manufacturers – BMW and Mercedes-Benz seem able to supply pretty much any part you’ll need – Citroen instead starts to ramp up the cost of parts after, well, about 15 years. When demand understandably dies away, they then clear their stocks and suddenly you can’t get the parts at all. We’ve already seen this with the GS, CX and BX and now the XM is next in line.
It isn’t just Citroen to be fair, other manufacturers can be just as sniffy. They blindly refuse to support older models as they only want to deal with people who buy new. They ignore the brand loyalty that a lot of owners have – someone with a Citroen DS might well own a C5 for instance.
So yes, Citroen could supply me with a brake slider kit, but they wanted £50 for it. Ludicrous. But here’s problem number two. Something had gone wrong in the information sent to motor factors to show what size slider is fitted. When the XM moved to a larger design, it seems no-one thought to tell the wider world. So, I could buy a slider kit for a far more realistic £12, but it was the wrong size. That effectively gives Citroen a monopoly on supply. Nice! As it happens, Chevronics had one kit on the shelf, which I was able to buy for a bit less than Citroen’s price (once delivery and VAT were factored in). Still more than I’d like to have paid, but hey, I have the part now.

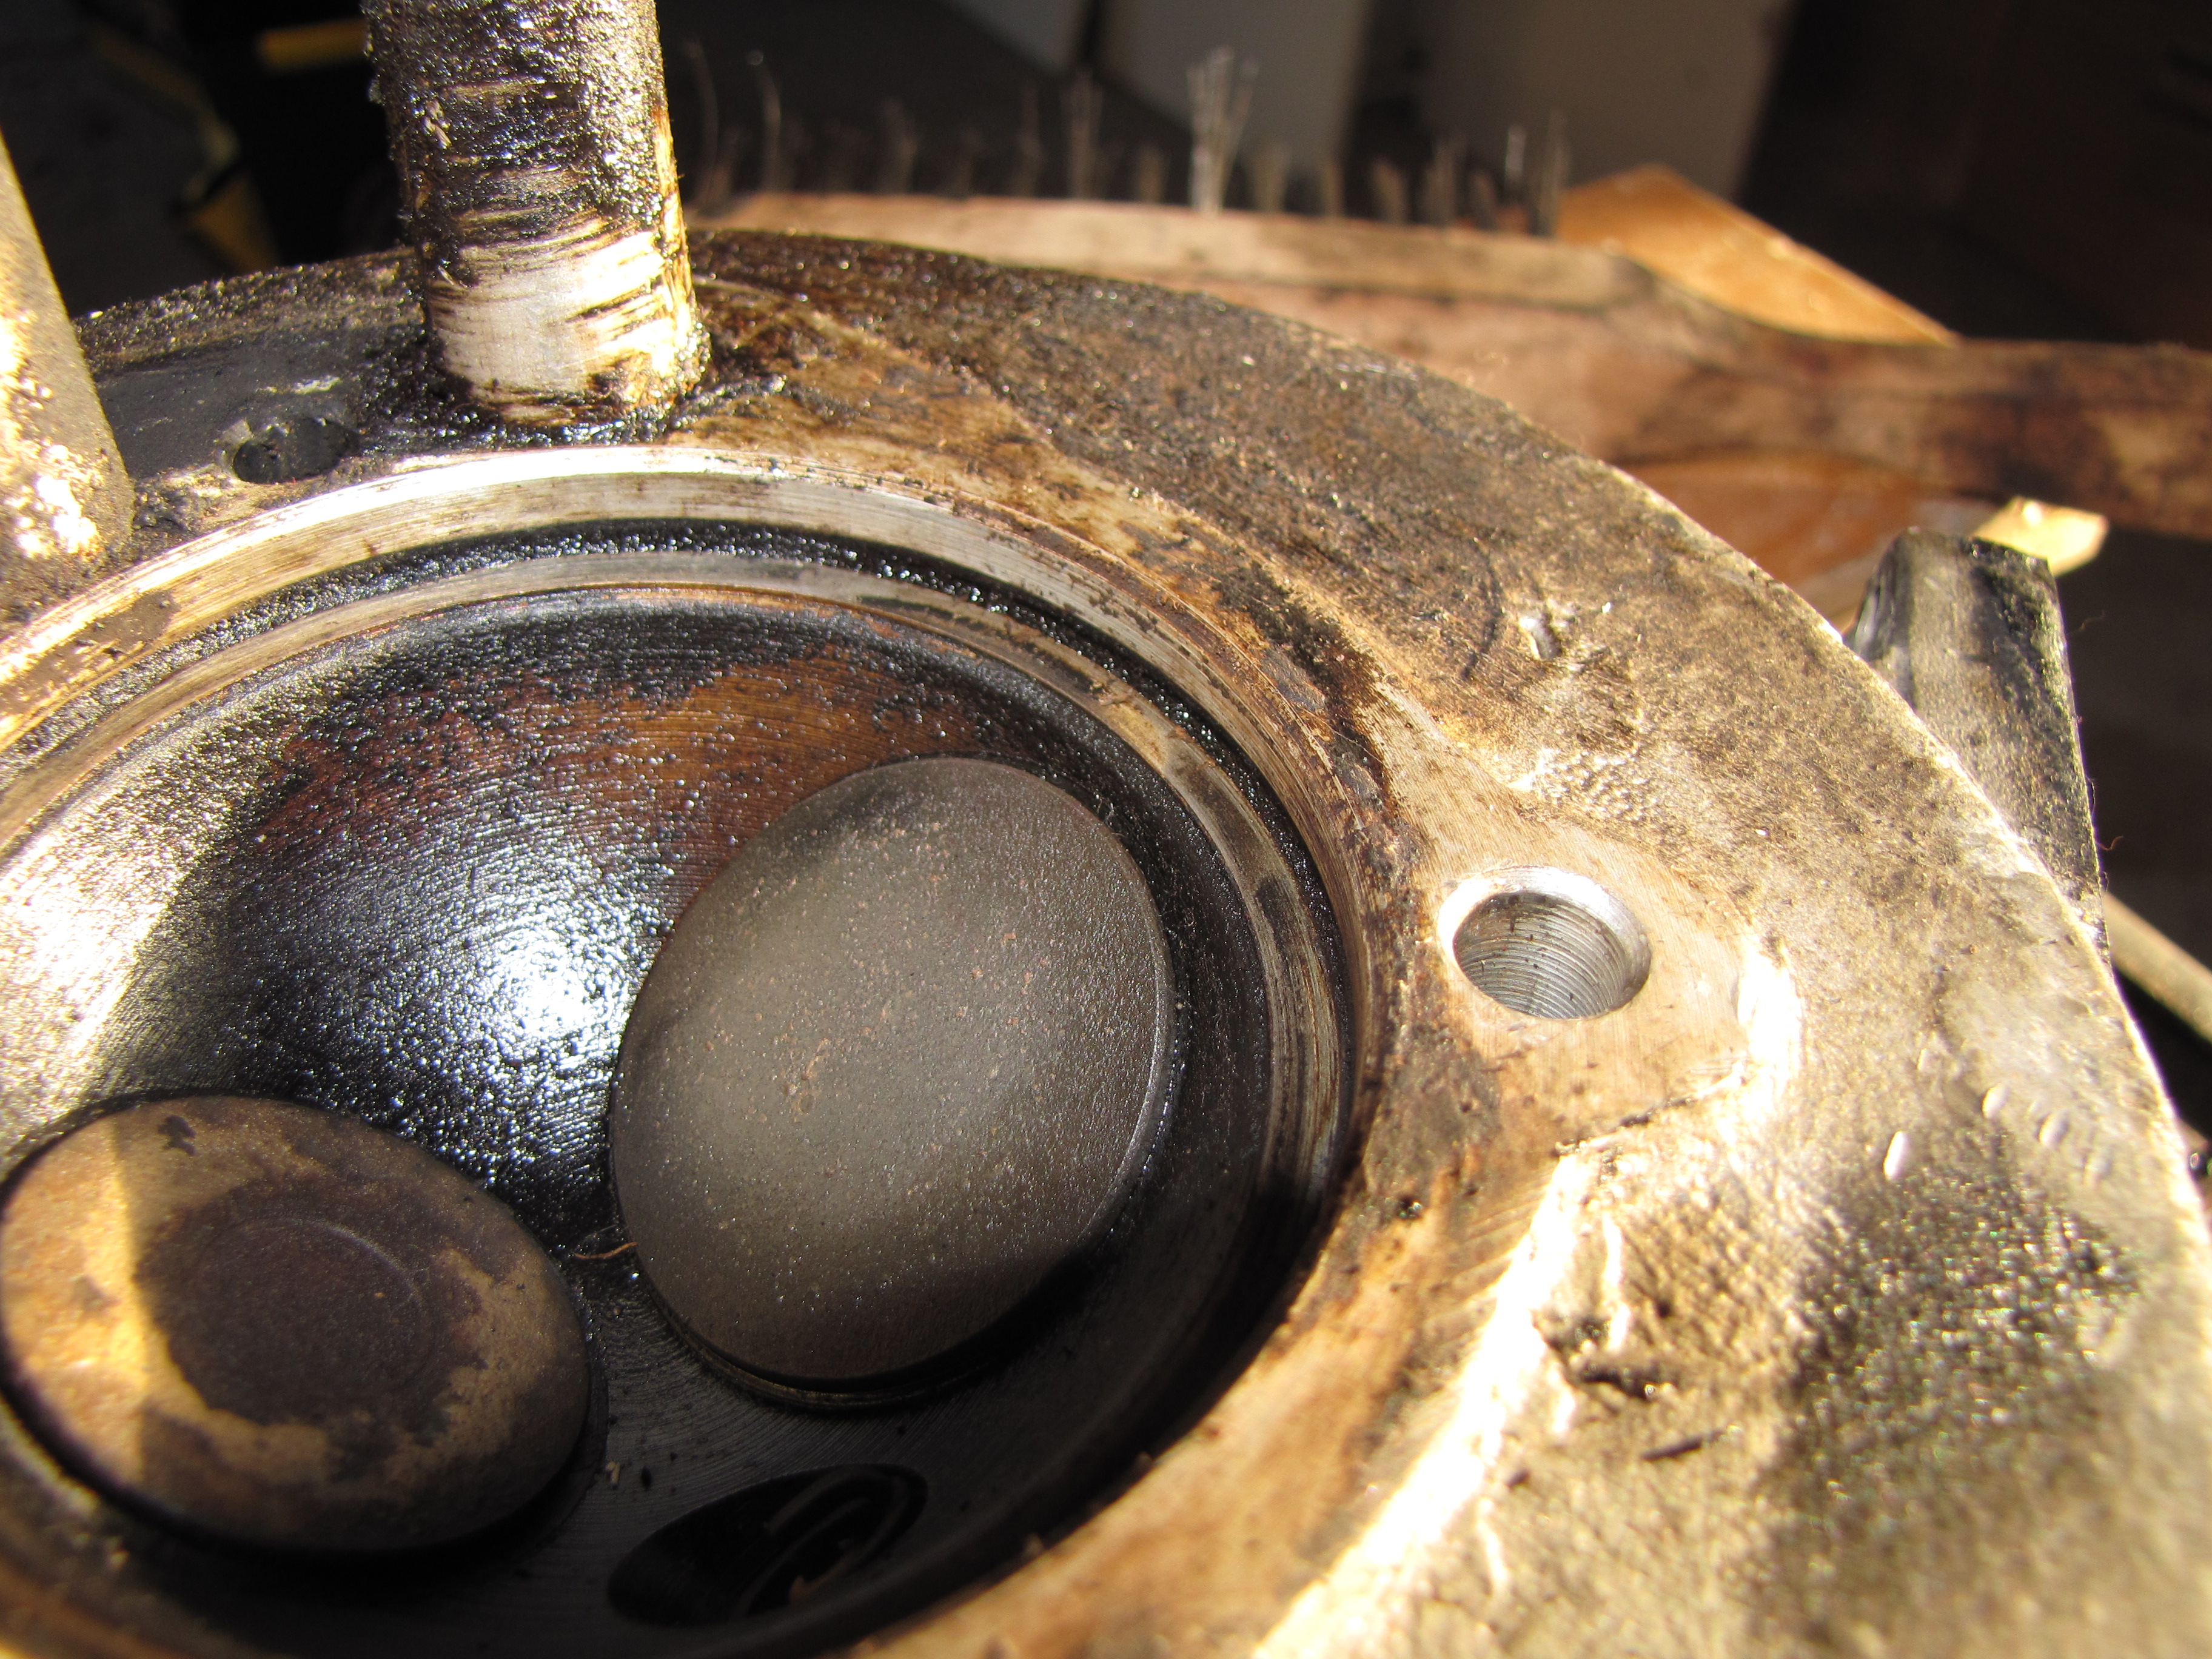
You can see how uneven the brake pad wear has been.
I can see this problem only getting worse and I’m sure it’ll be the reason that I stop using an XM as daily transport. There will come a day when some tiny but essential part needs replacing, and I won’t be able to get hold of it. The XM is in that struggle between modern car and fully-supported classic – where suppliers can invest in getting parts remade to plug the gaps. I’ve seen the 2CV go through such a transition, and I’m thrilled to see the BX heading that way too. Question is, will the XM get there before I need the bits? Time will tell.
So, I now have all the components necessary to overhaul the XM’s brakes – I now just need for it to stop raining so I can fit them! It could be a long wait, but hopefully not as long as the search for a brake slider kit…
Let’s just have a quick thing about why this has become such a problem though. Why is it still easier to find geniuine OE spares for classics that are decades old? One reason is commonality. Back in the 1950s and 1960s, parts were often shared between manufacturers. They often used the same headlamps and even brake components. Now, parts are often unique to a model.
There’s greater complexity too. The XM (and many other modern classics) are just in a different league to 1960s classics. A quick glance at the engine bay will tell you that.
I do find this worrying, but perhaps I needn’t stress. After all, if modern classics to begin to fail me, I can always jump in a nice, simple, air-cooled Citroen!


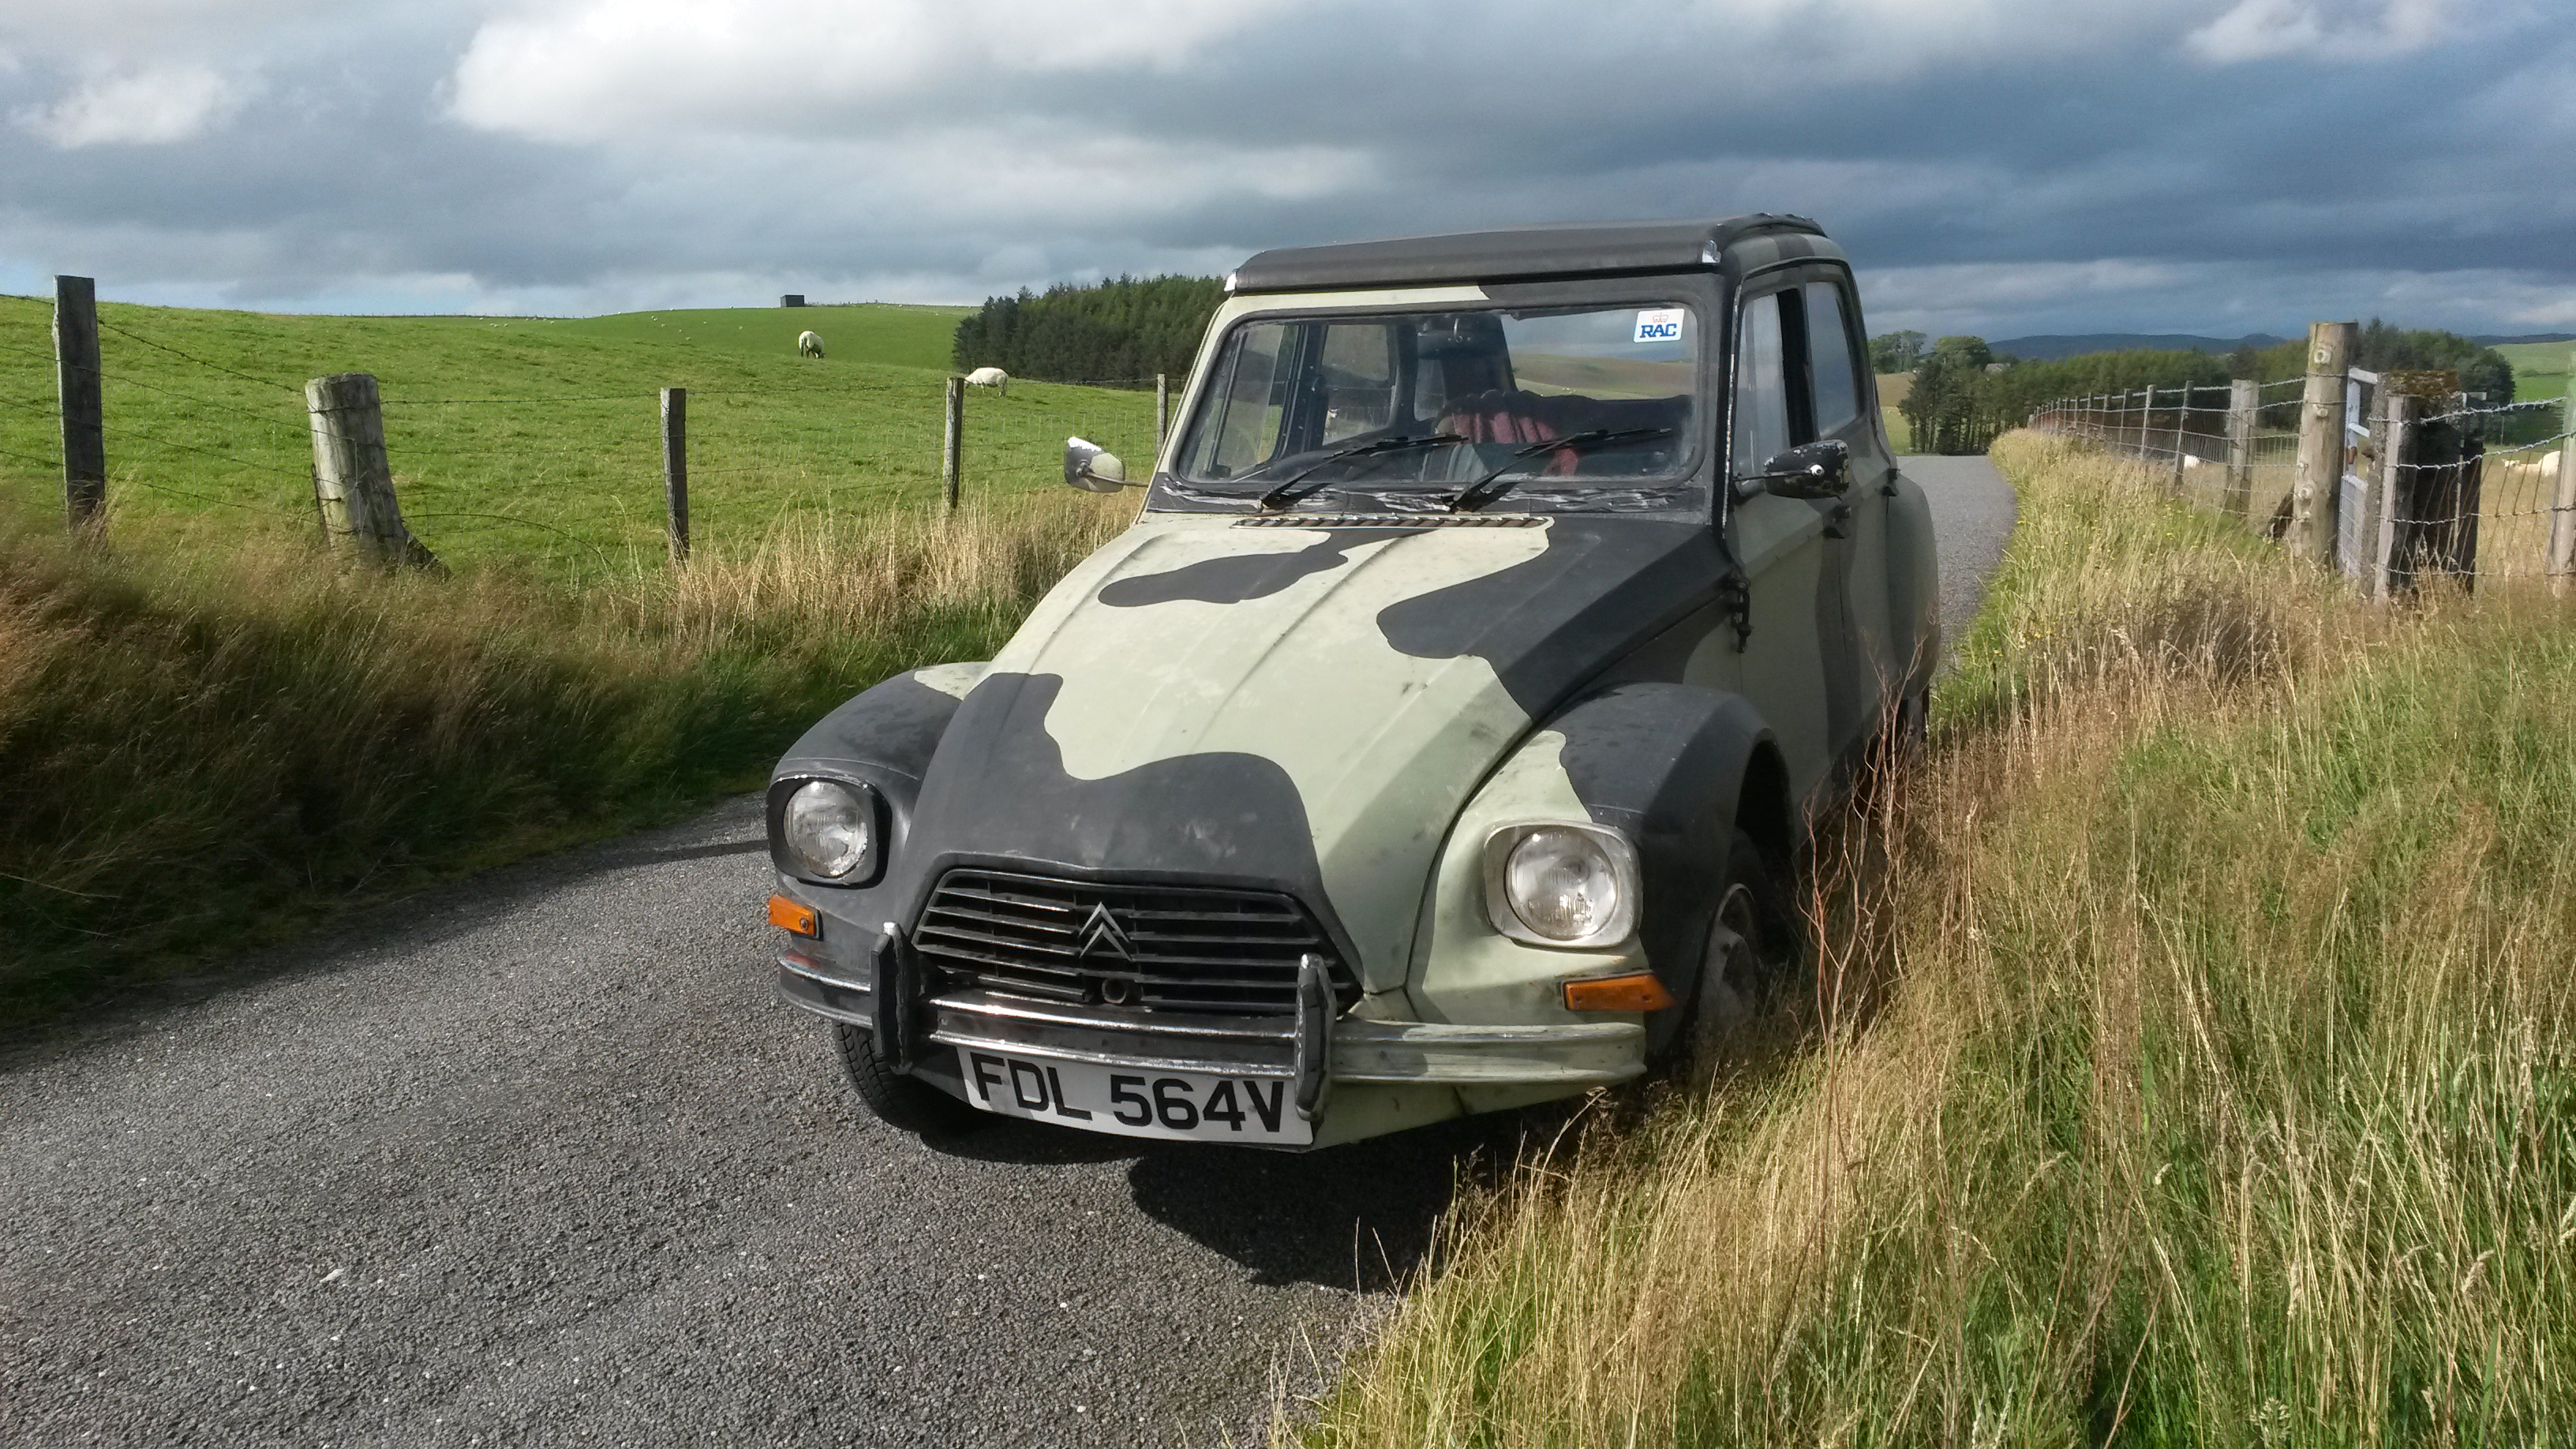
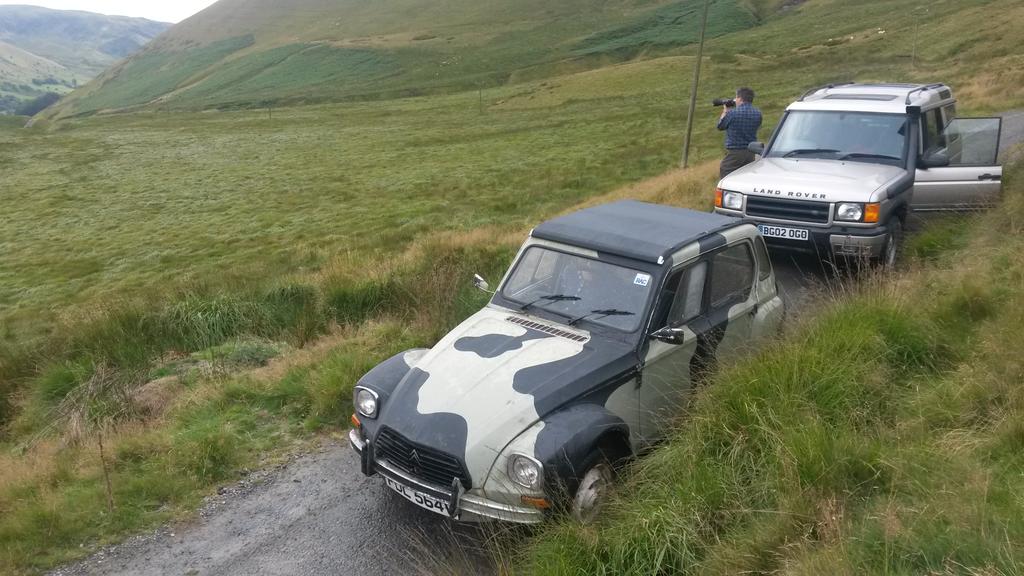 Greenlaning Dyane in the hills of mid-Wales